Setting up Cloudflare Tunnels on Raspberry Pi is the best way to expose home server services securely. Running a home server with multiple services is great—until you want to access them remotely. Without a static IP address, traditional port forwarding becomes unreliable. This Cloudflare Tunnels Raspberry Pi guide shows how to configure secure access and Zero Trust Access to securely expose Docker services using Cloudflare Tunnels on Raspberry Pi, with granular control over public and private access.
Cloudflare Tunnels Raspberry Pi: Why Use It
Home internet connections typically have dynamic IP addresses that change periodically. Traditional solutions involve:
- Dynamic DNS services (DDNS) with port forwarding
- VPN servers requiring client configuration
- Exposing services directly to the internet (risky)
With Cloudflare Tunnels on Raspberry Pi, these problems disappear. Each approach has drawbacks: DDNS requires open ports and firewall rules, VPNs add complexity for quick access, and direct exposure creates security vulnerabilities. Cloudflare Tunnels solve these problems elegantly.
Cloudflare Tunnels Raspberry Pi Architecture
Cloudflare Tunnels create an outbound-only connection from your server to Cloudflare’s edge network. This means:
- No port forwarding required – your router stays locked down
- No static IP needed – cloudflared maintains the connection
- DDoS protection included – traffic flows through Cloudflare’s network
- SSL/TLS automatic – HTTPS for all services without certificate management
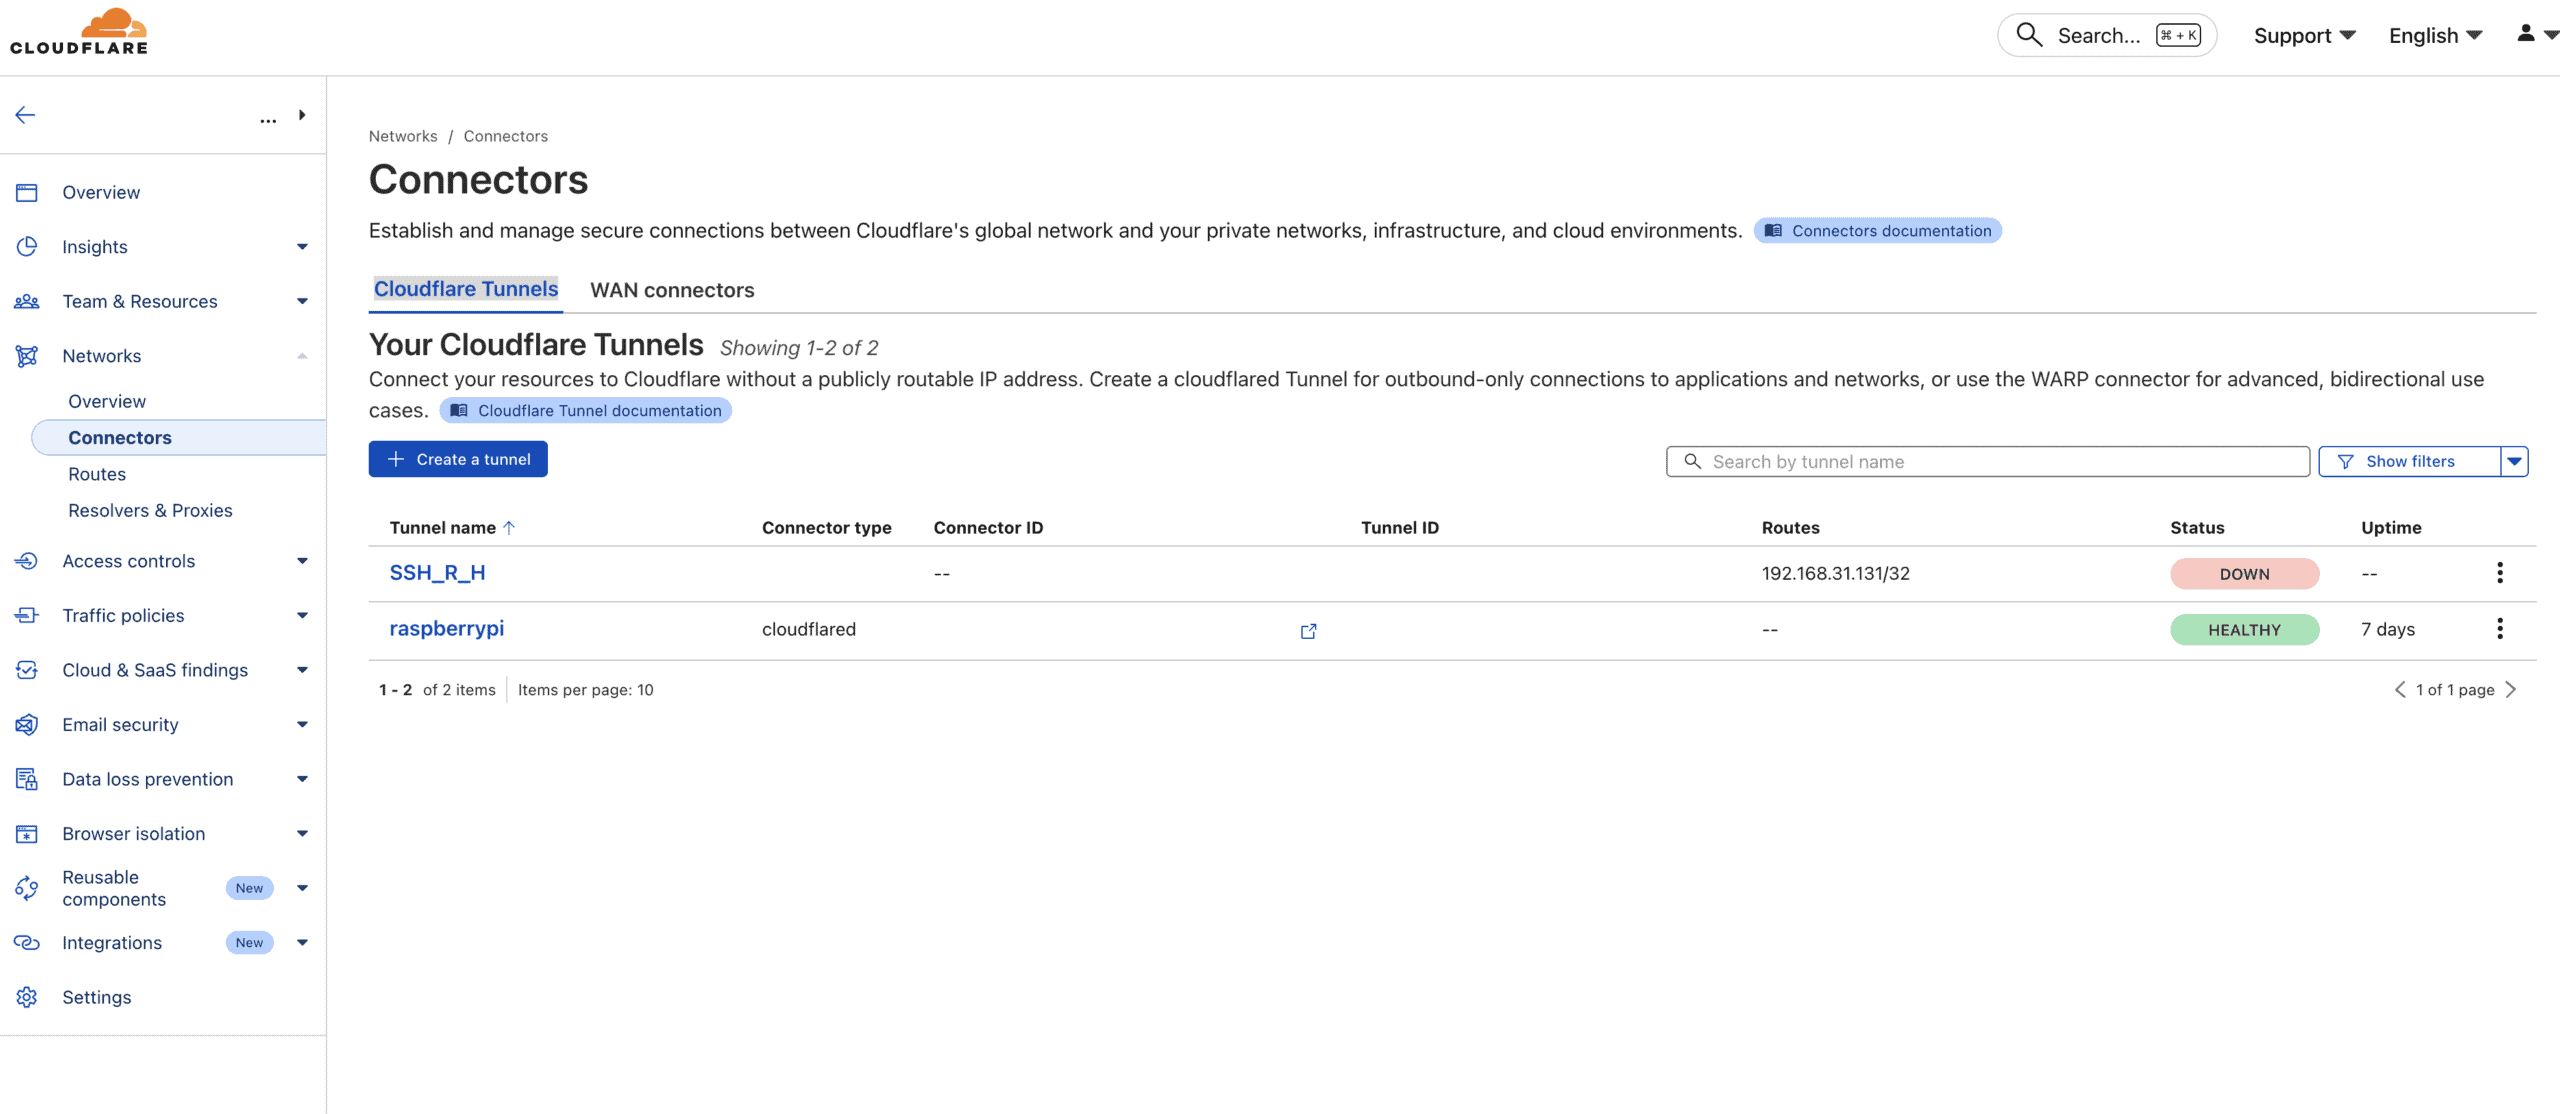
Cloudflare Tunnels Raspberry Pi: Setting Up cloudflared
The cloudflared daemon runs on your Raspberry Pi and establishes the tunnel. Installation is straightforward:
# Install cloudflared on Raspberry Pi (ARM64)
curl -L https://github.com/cloudflare/cloudflared/releases/latest/download/cloudflared-linux-arm64 -o cloudflared
sudo mv cloudflared /usr/local/bin/
sudo chmod +x /usr/local/bin/cloudflared

# Authenticate with Cloudflare
cloudflared tunnel login

# Create a tunnel
cloudflared tunnel create raspberrypi

# Run as a service
sudo cloudflared service install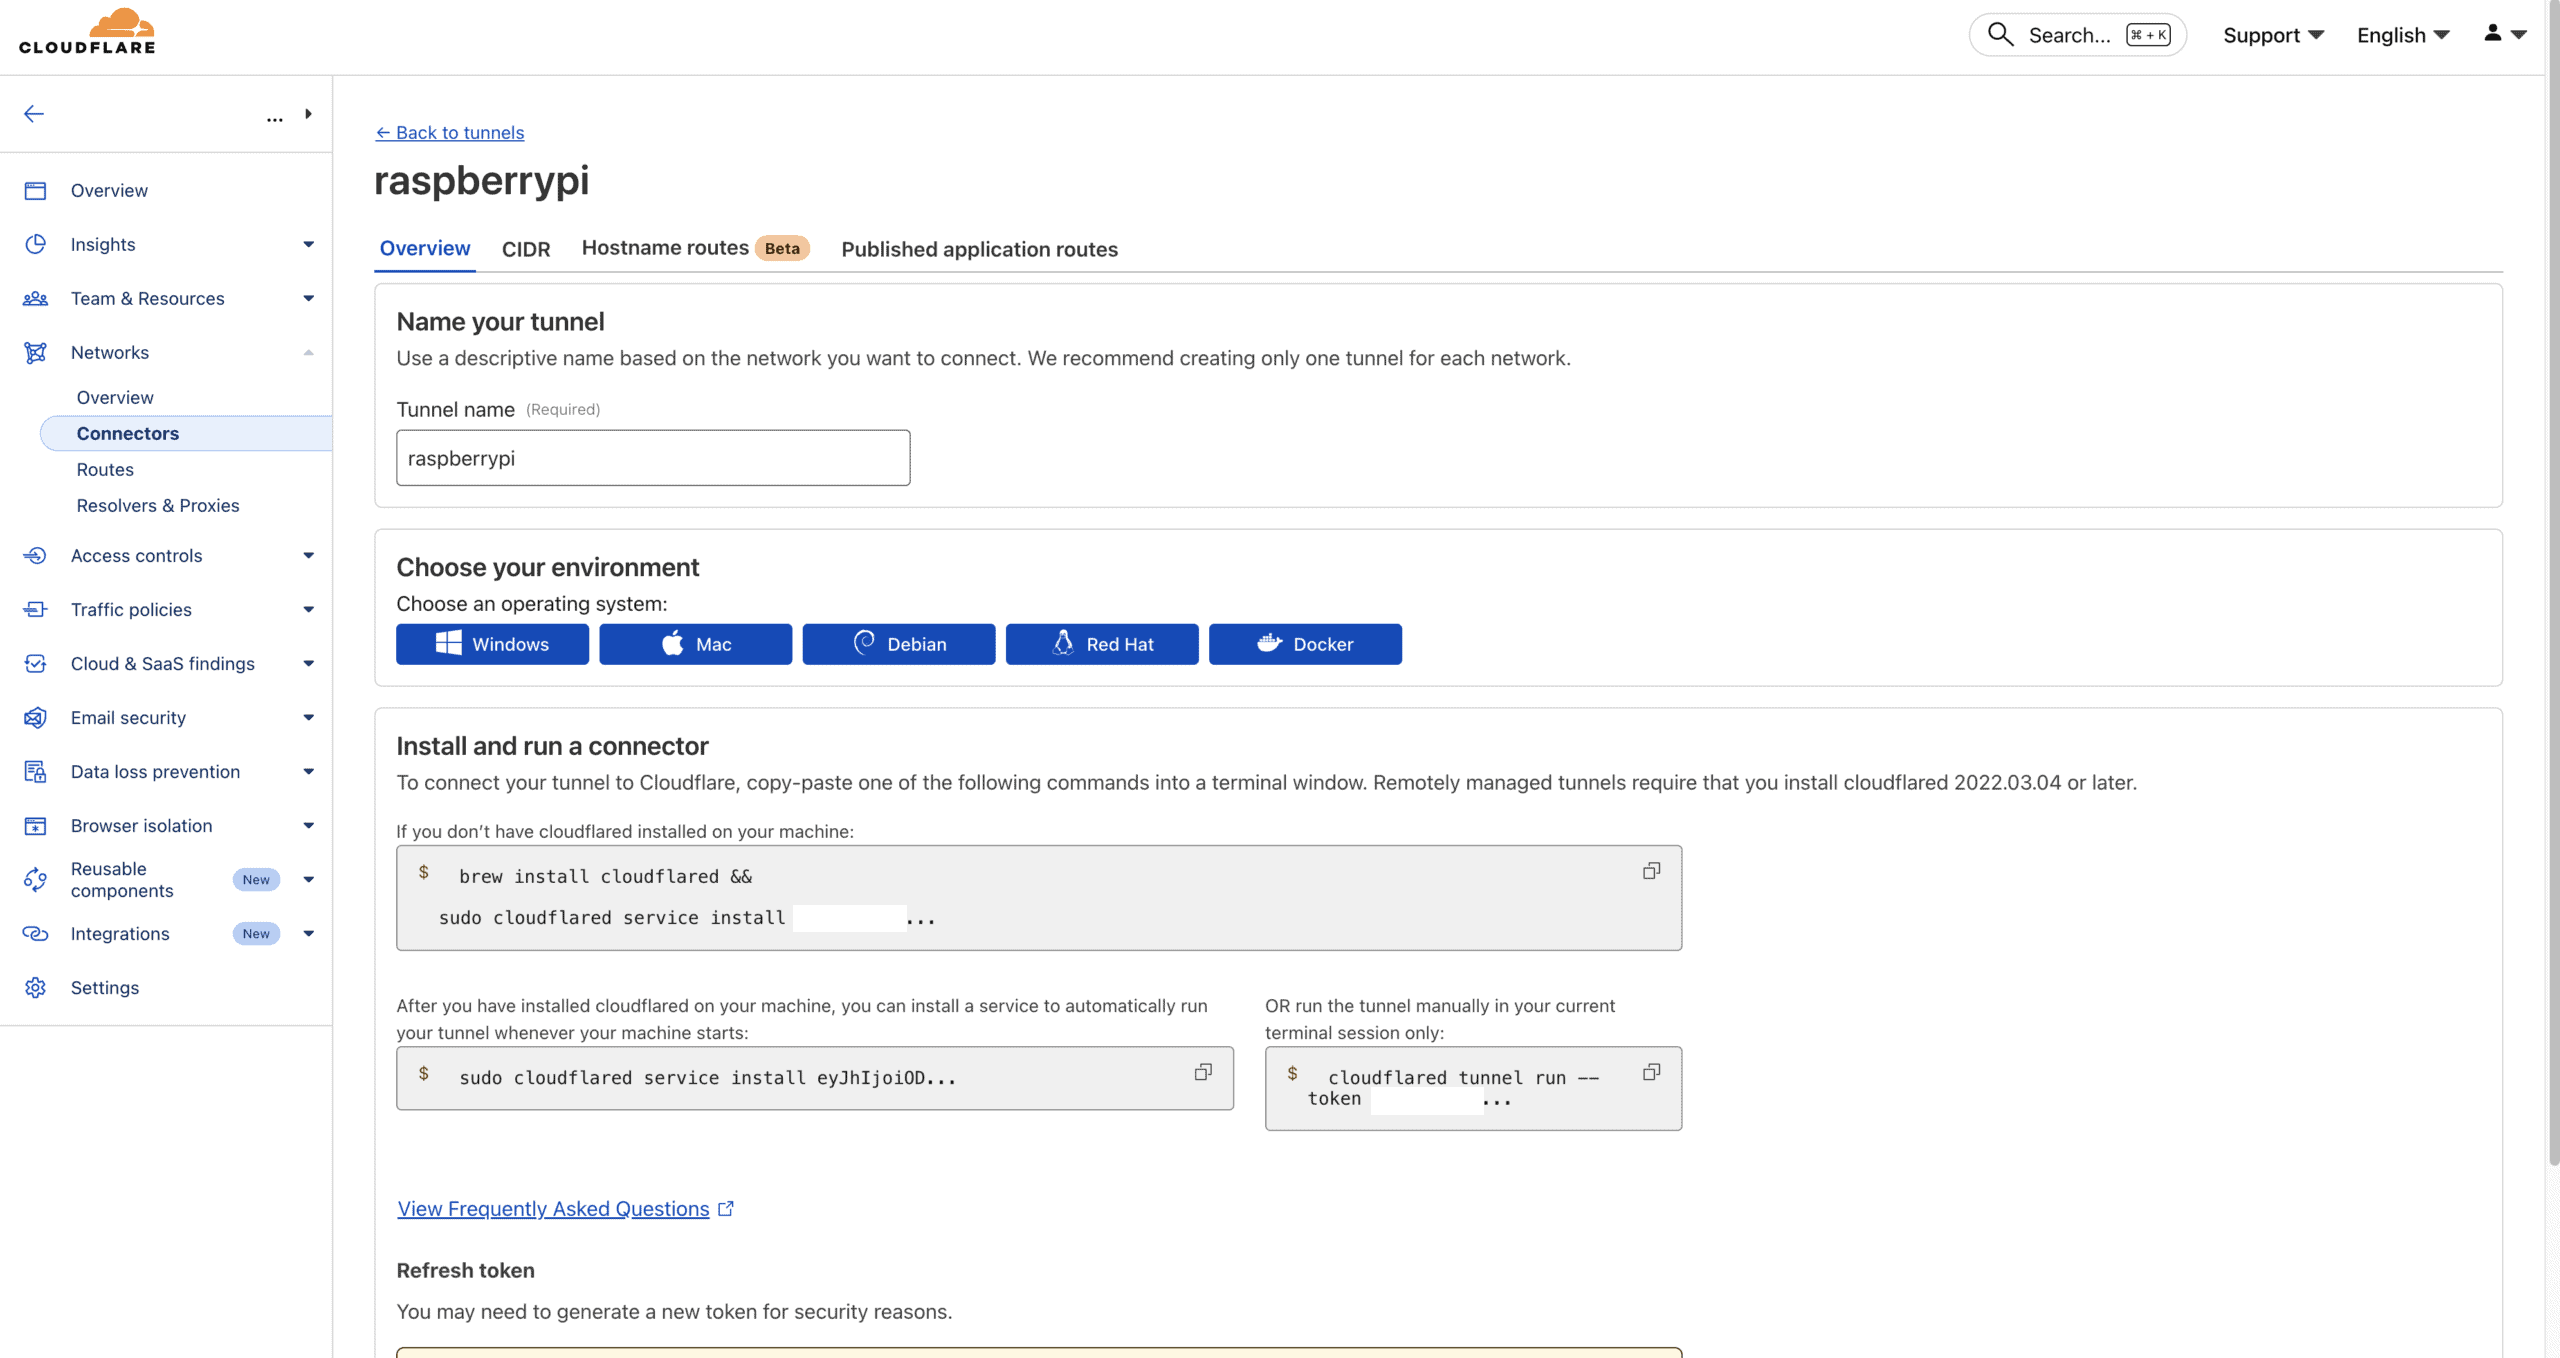
For Docker environments, running cloudflared as a container simplifies deployment:
# docker-compose.yml
services:
  cloudflared:
    image: cloudflare/cloudflared:latest
    container_name: cloudflared
    restart: unless-stopped
    command: tunnel run
    environment:
      - TUNNEL_TOKEN=your_tunnel_token_here
    networks:
      - your_network
Exposing Docker Services
Each Docker service can be exposed through its own subdomain. The tunnel configuration maps public hostnames to internal services:
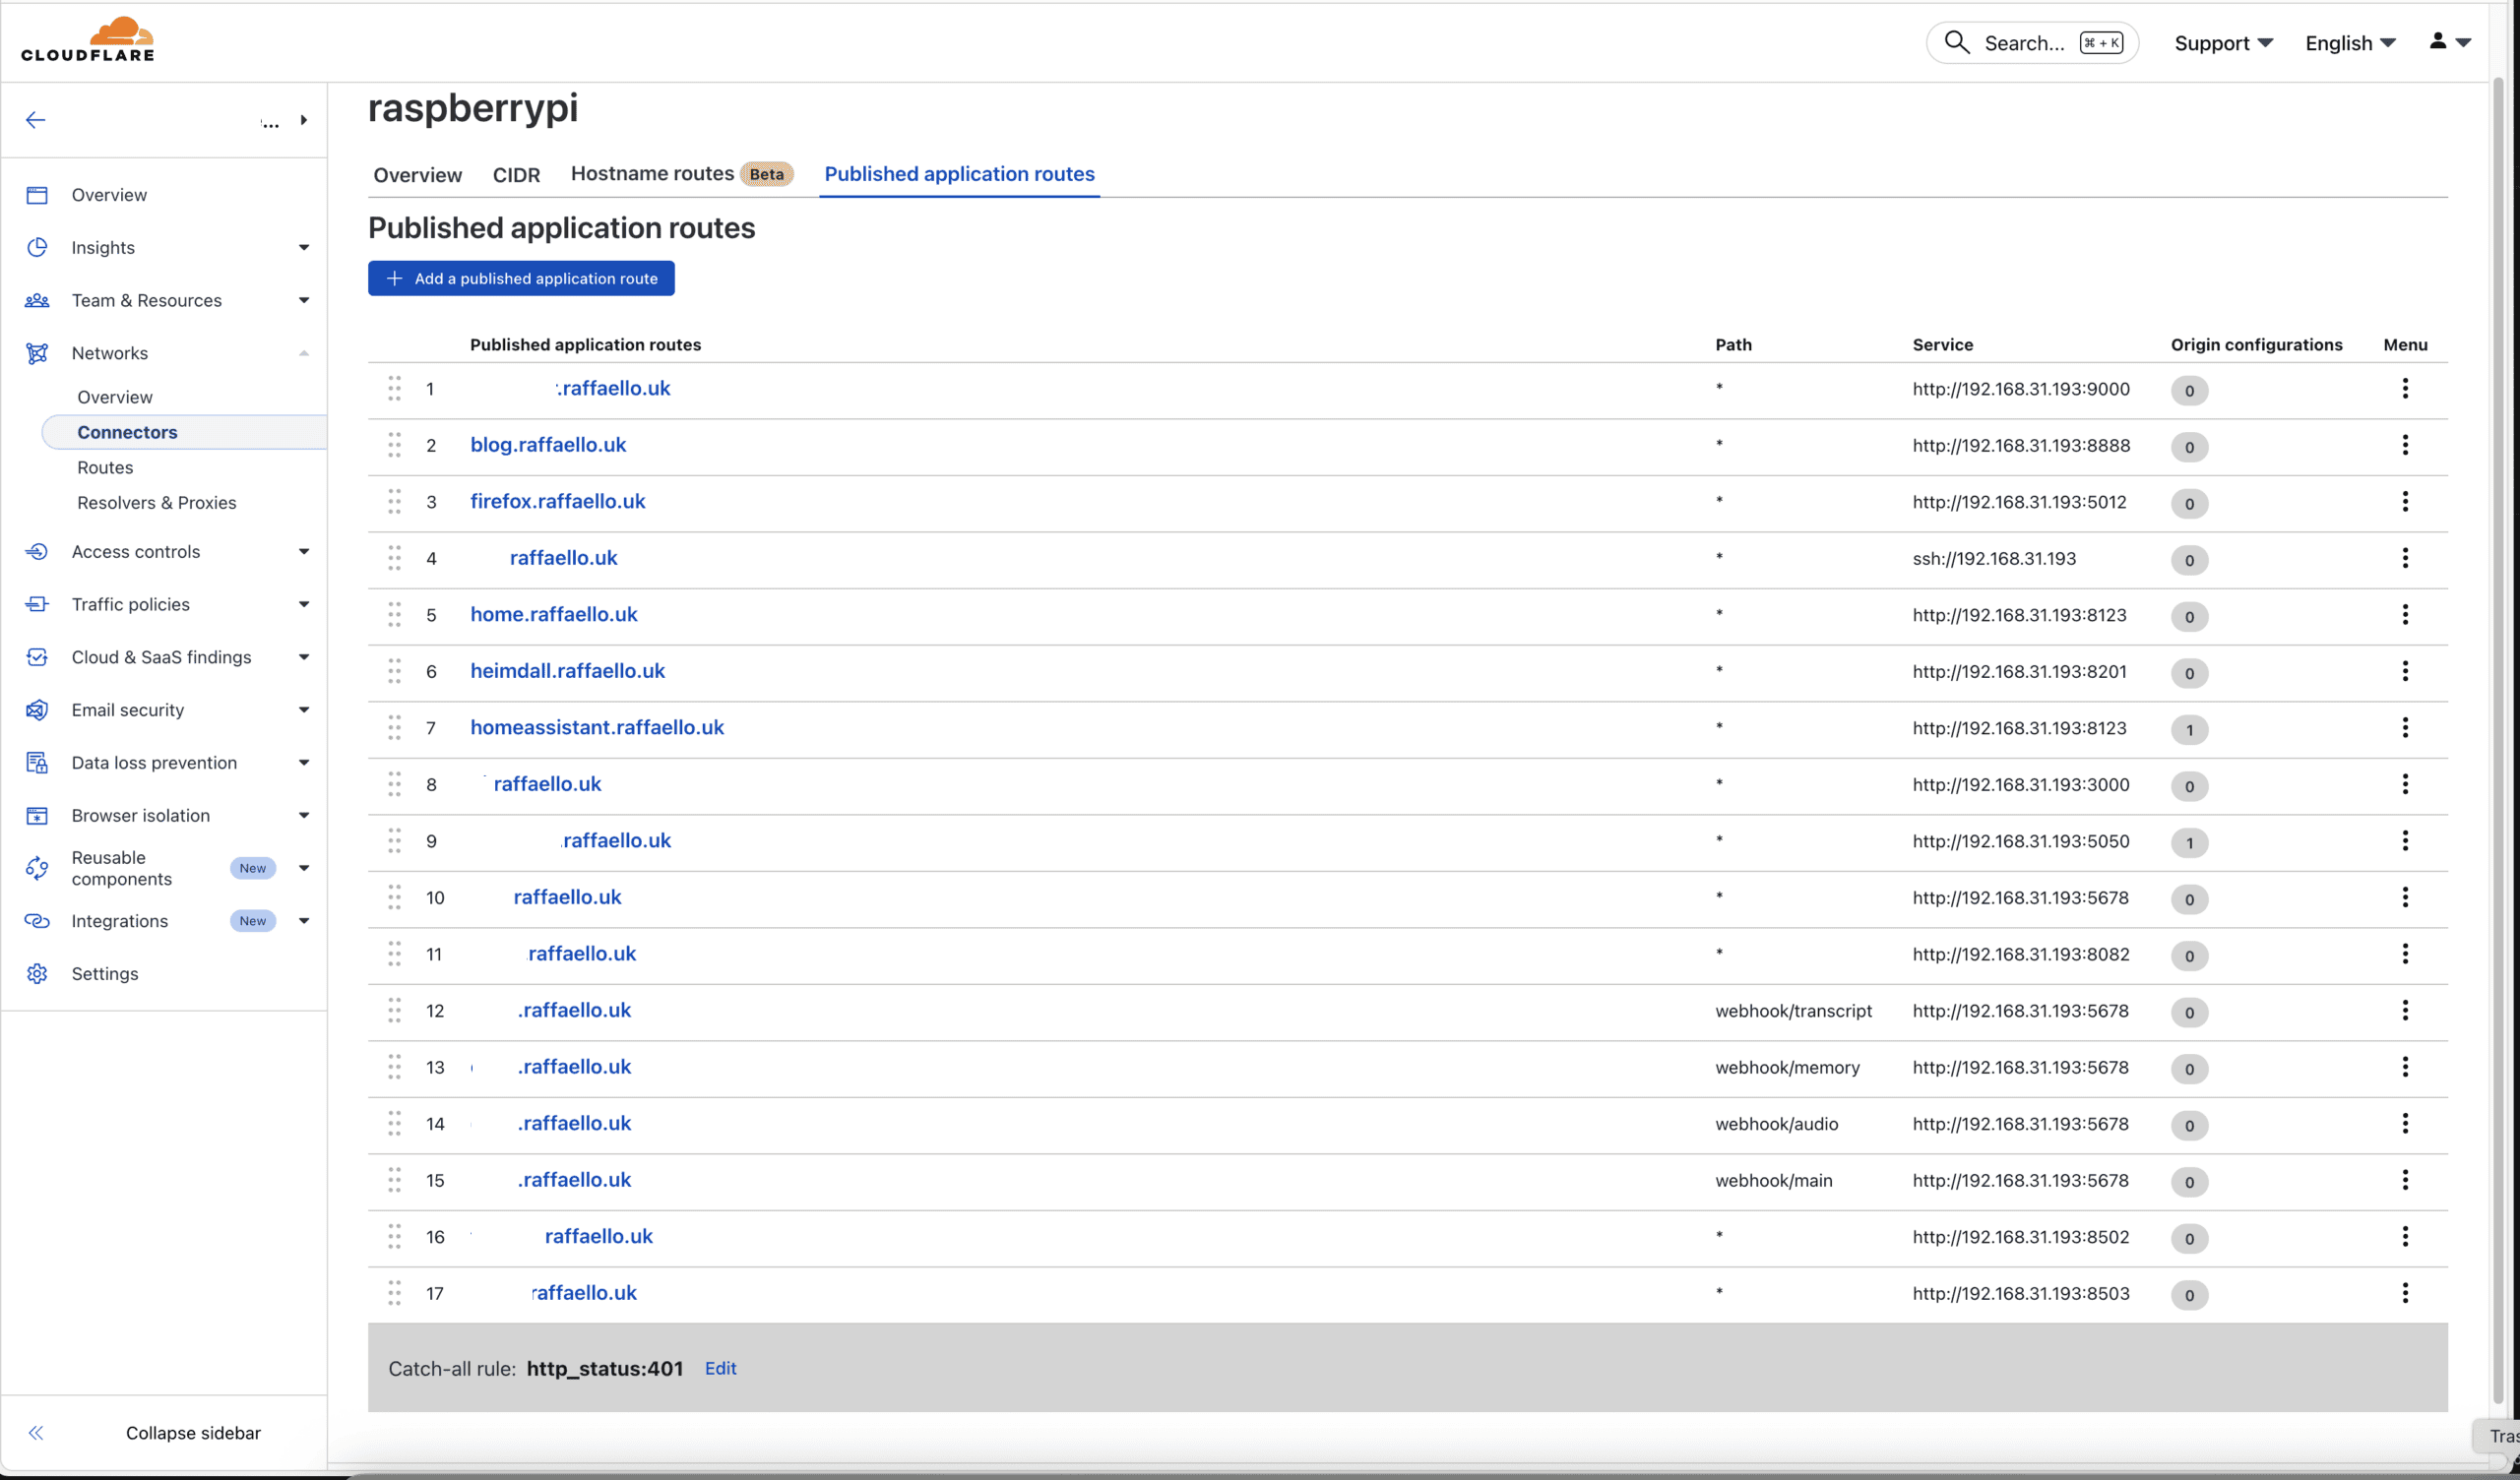
The configuration above shows services like:
- portainer.raffaello.uk → localhost:9000 (Docker management)
- raffaello.uk → localhost:8080 (WordPress)
- n8n.raffaello.uk → localhost:5678 (Workflow automation)
- kafka.raffaello.uk → localhost:8090 (Kafka UI)
- home.raffaello.uk → localhost:8123 (Home Assistant)
- firefox.raffaello.uk → localhost:3000 (Remote browser)
Zero Trust Access: Public vs Private
Not all services should be publicly accessible. Cloudflare Zero Trust Access adds authentication layers before users reach your applications. This creates two categories:
Public Services
Services like a blog don’t need authentication—anyone should be able to read articles. These bypass the access policy entirely.
Protected Services
Administrative interfaces, dashboards, and sensitive services require authentication. Zero Trust enforces login before access.
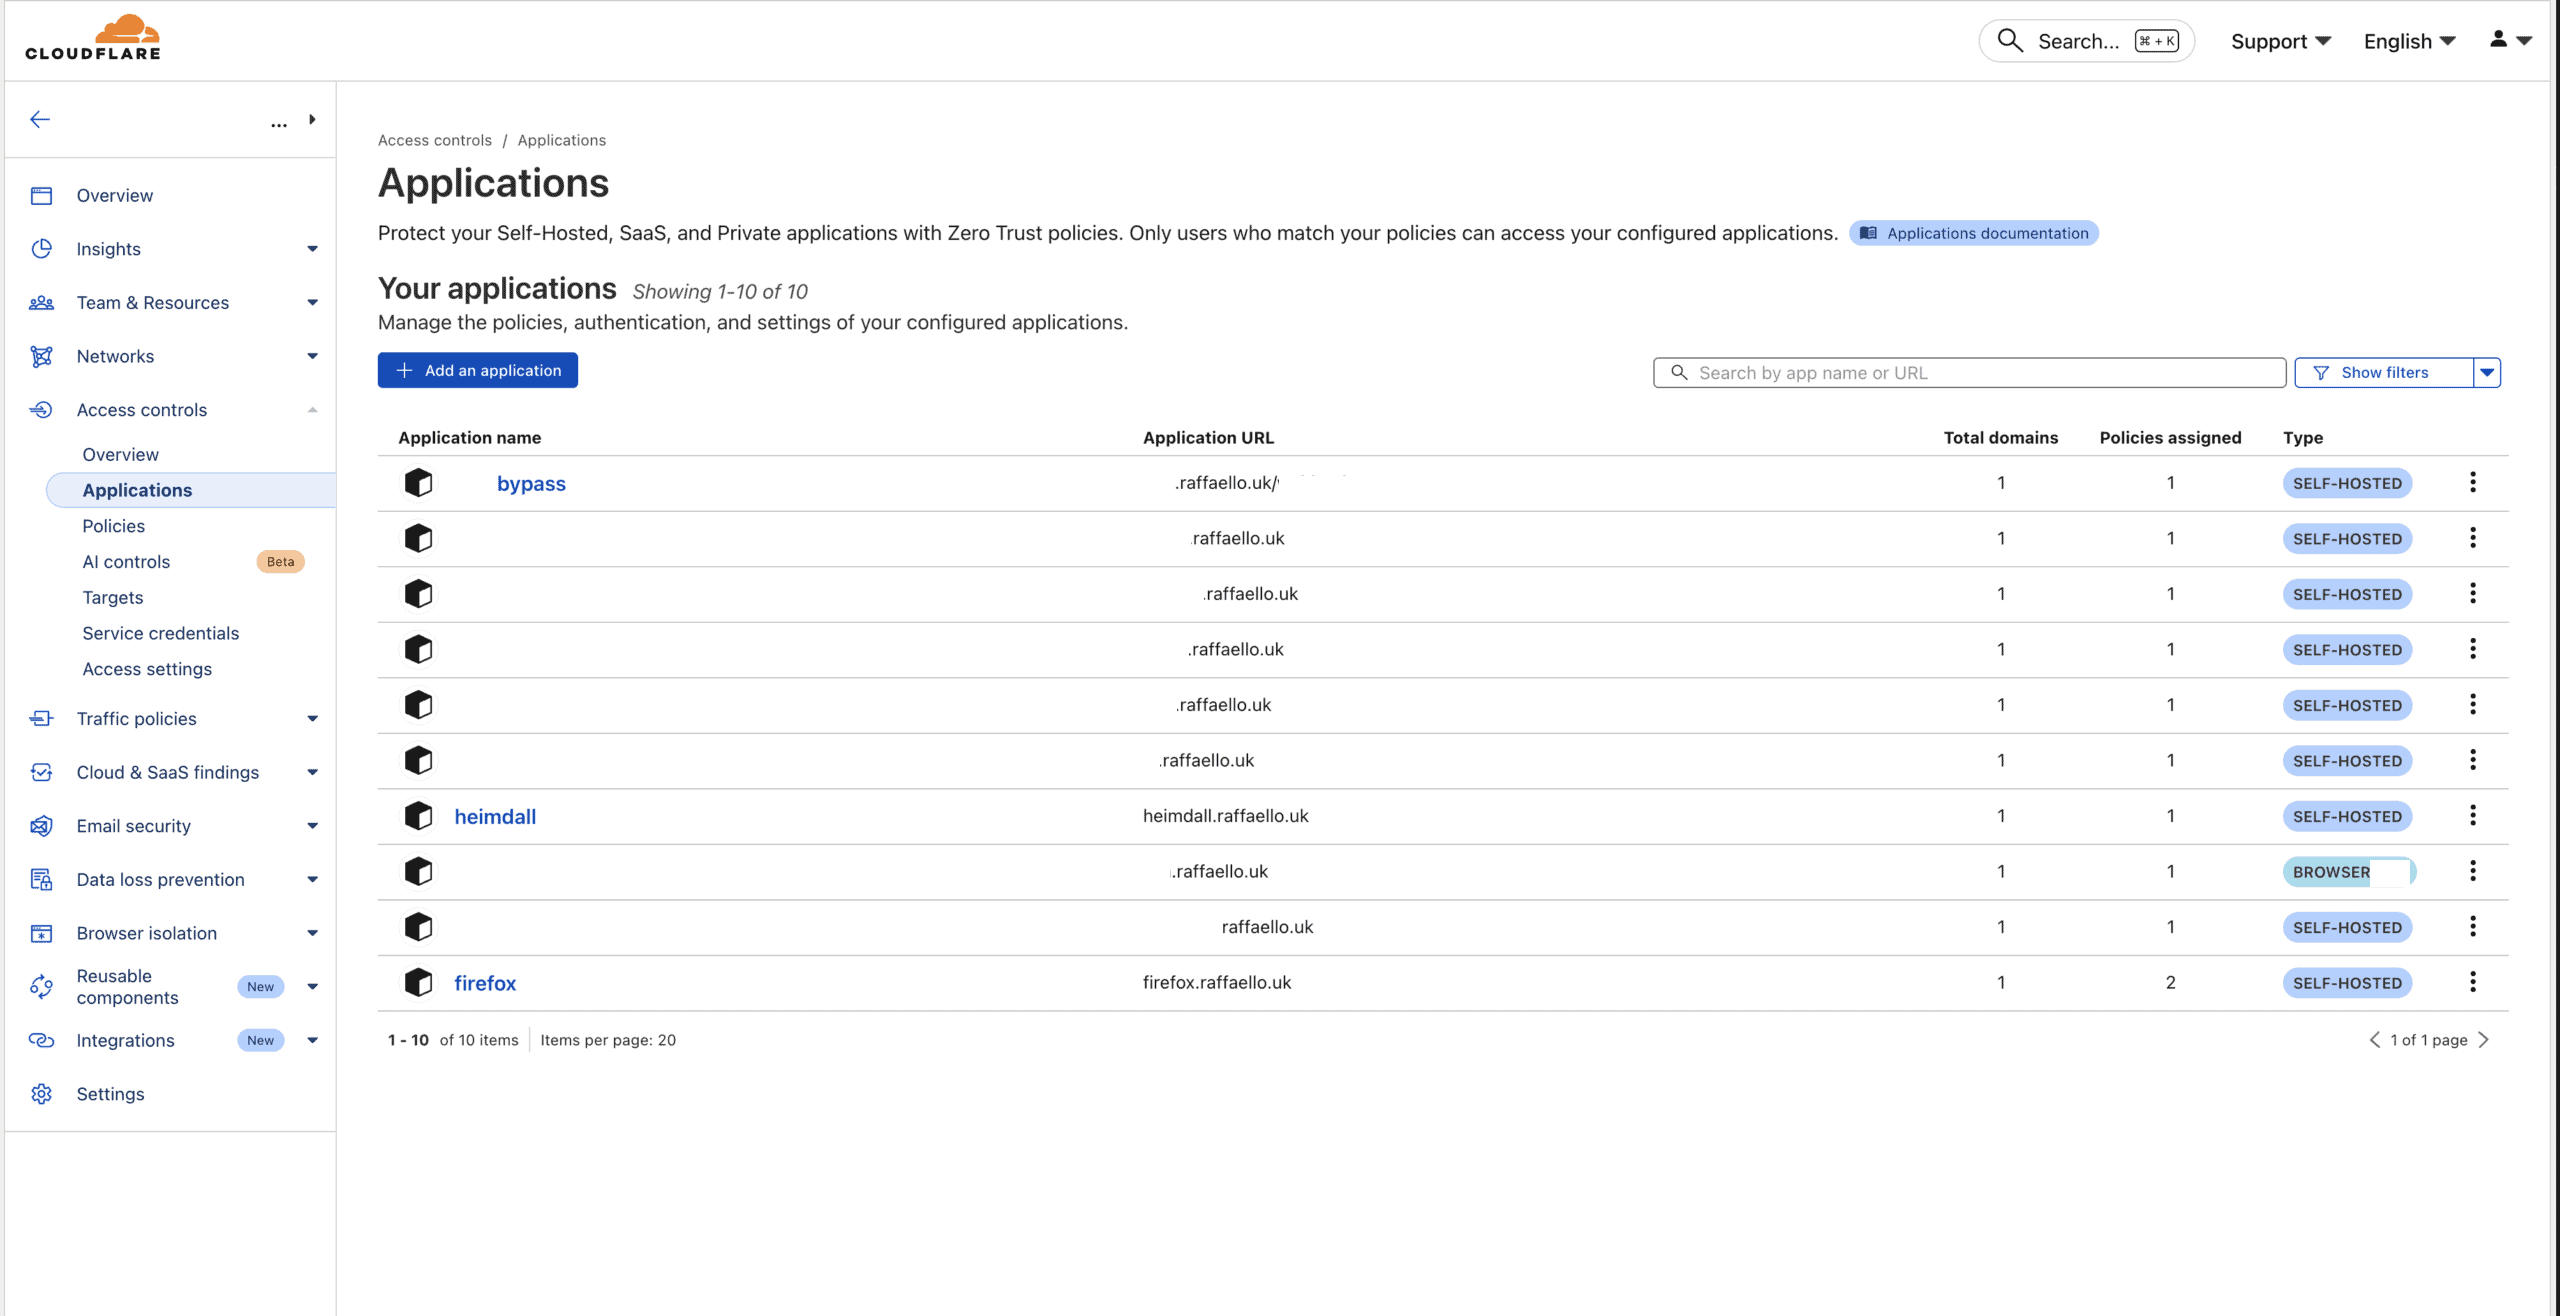
Configuring Access Policies
Access policies define who can reach protected services. A typical setup uses identity provider authentication:
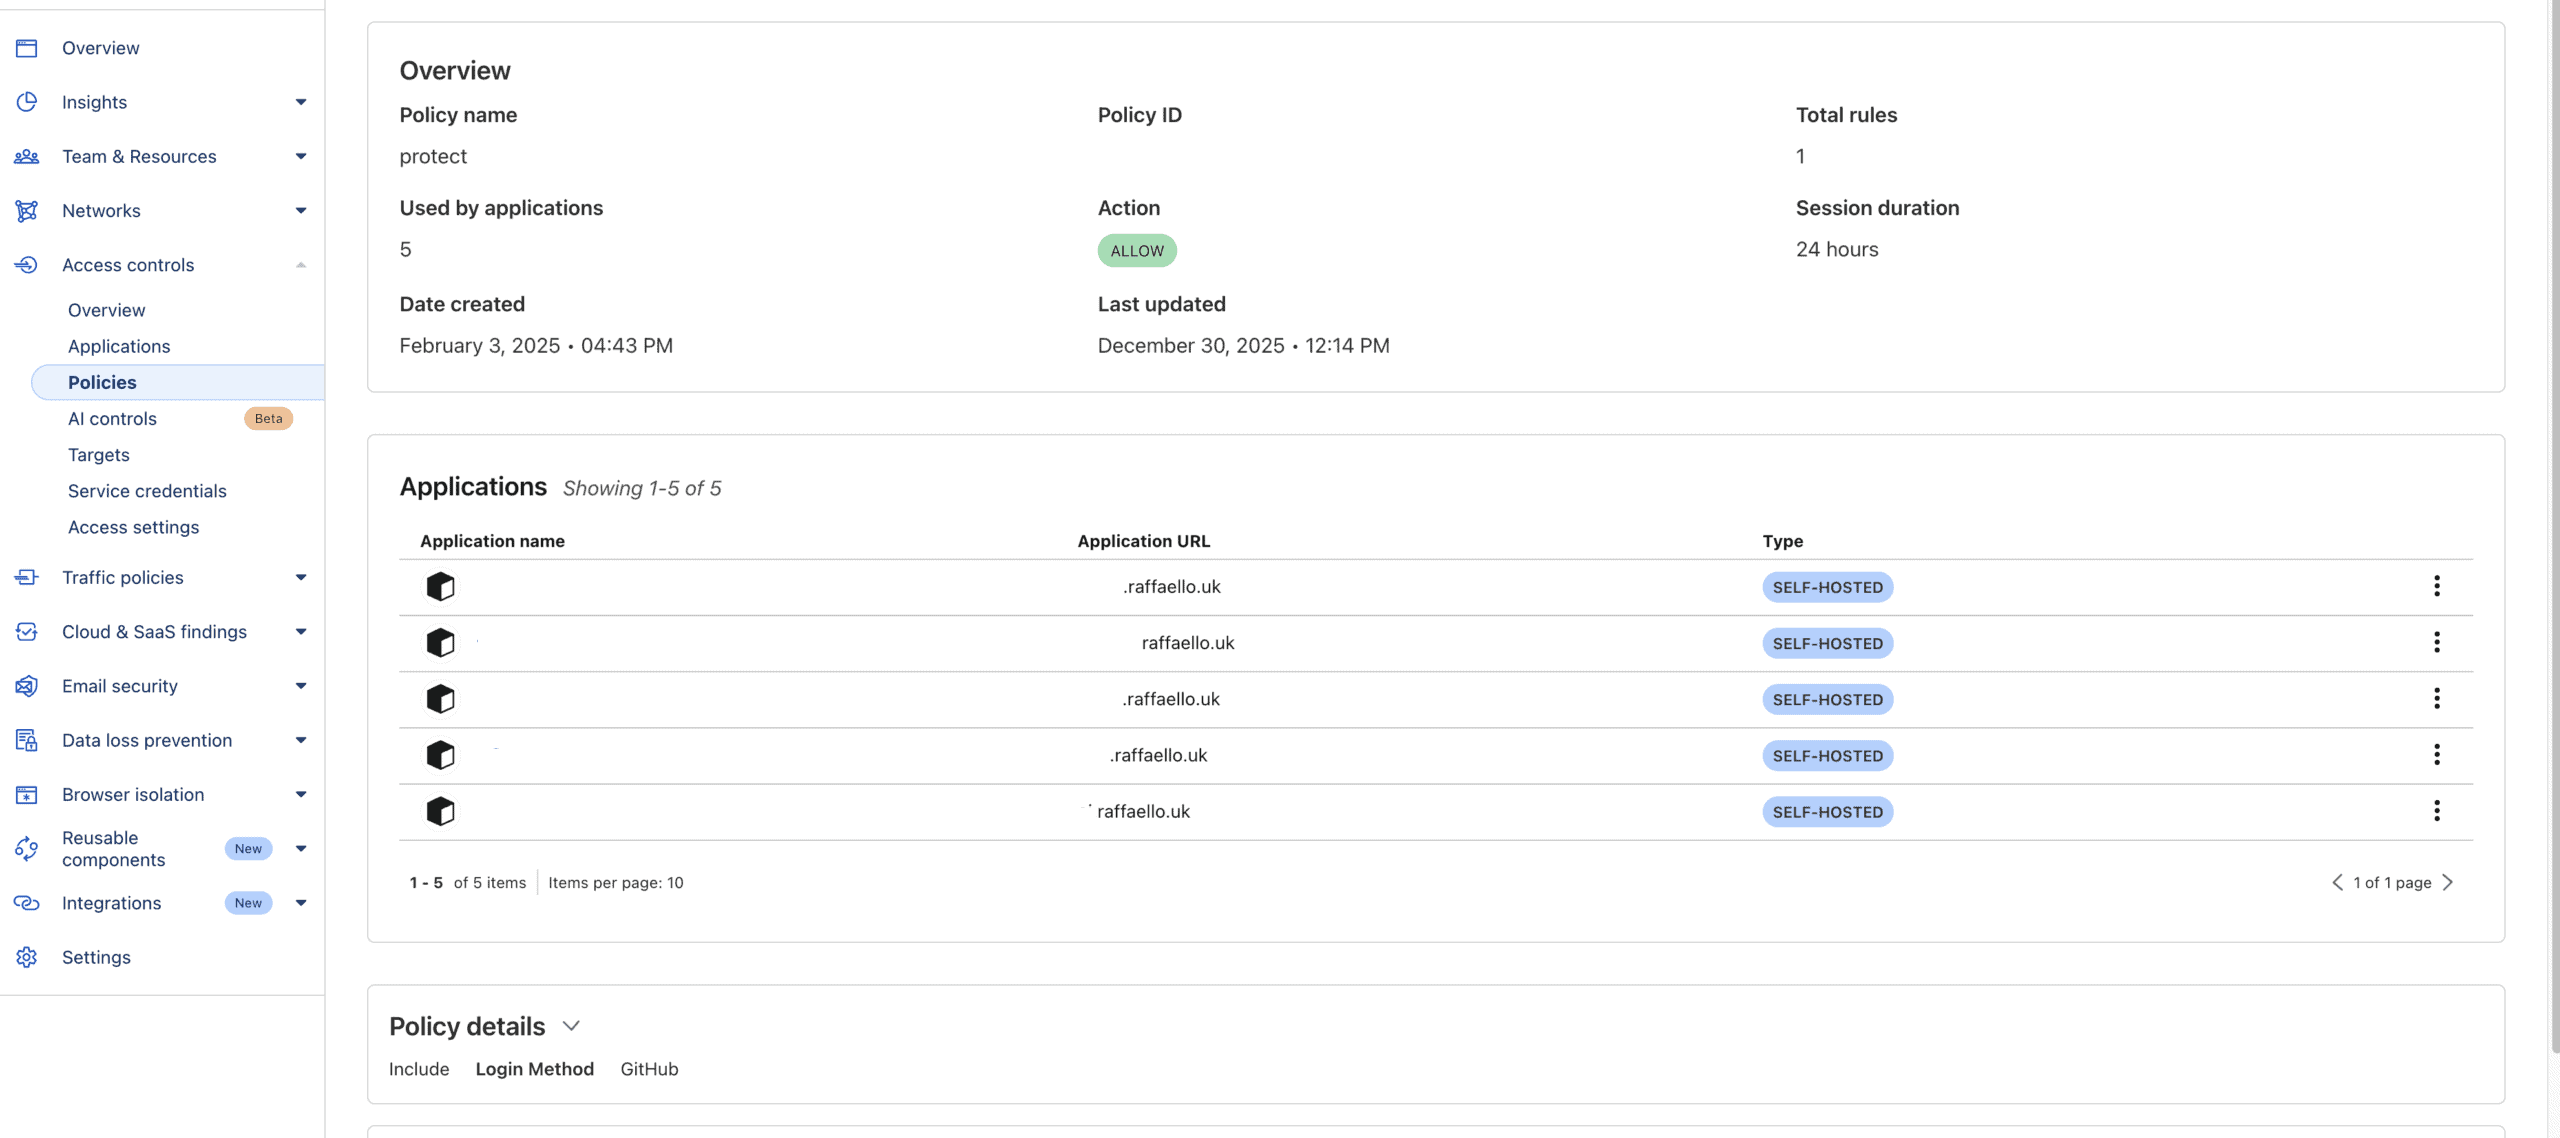
The policy configuration includes:
- Identity Provider: GitHub, Google, or other OAuth providers
- Session Duration: How long before re-authentication (24 hours recommended)
- Email/Group Rules: Restrict to specific users or organizations
Policy Types
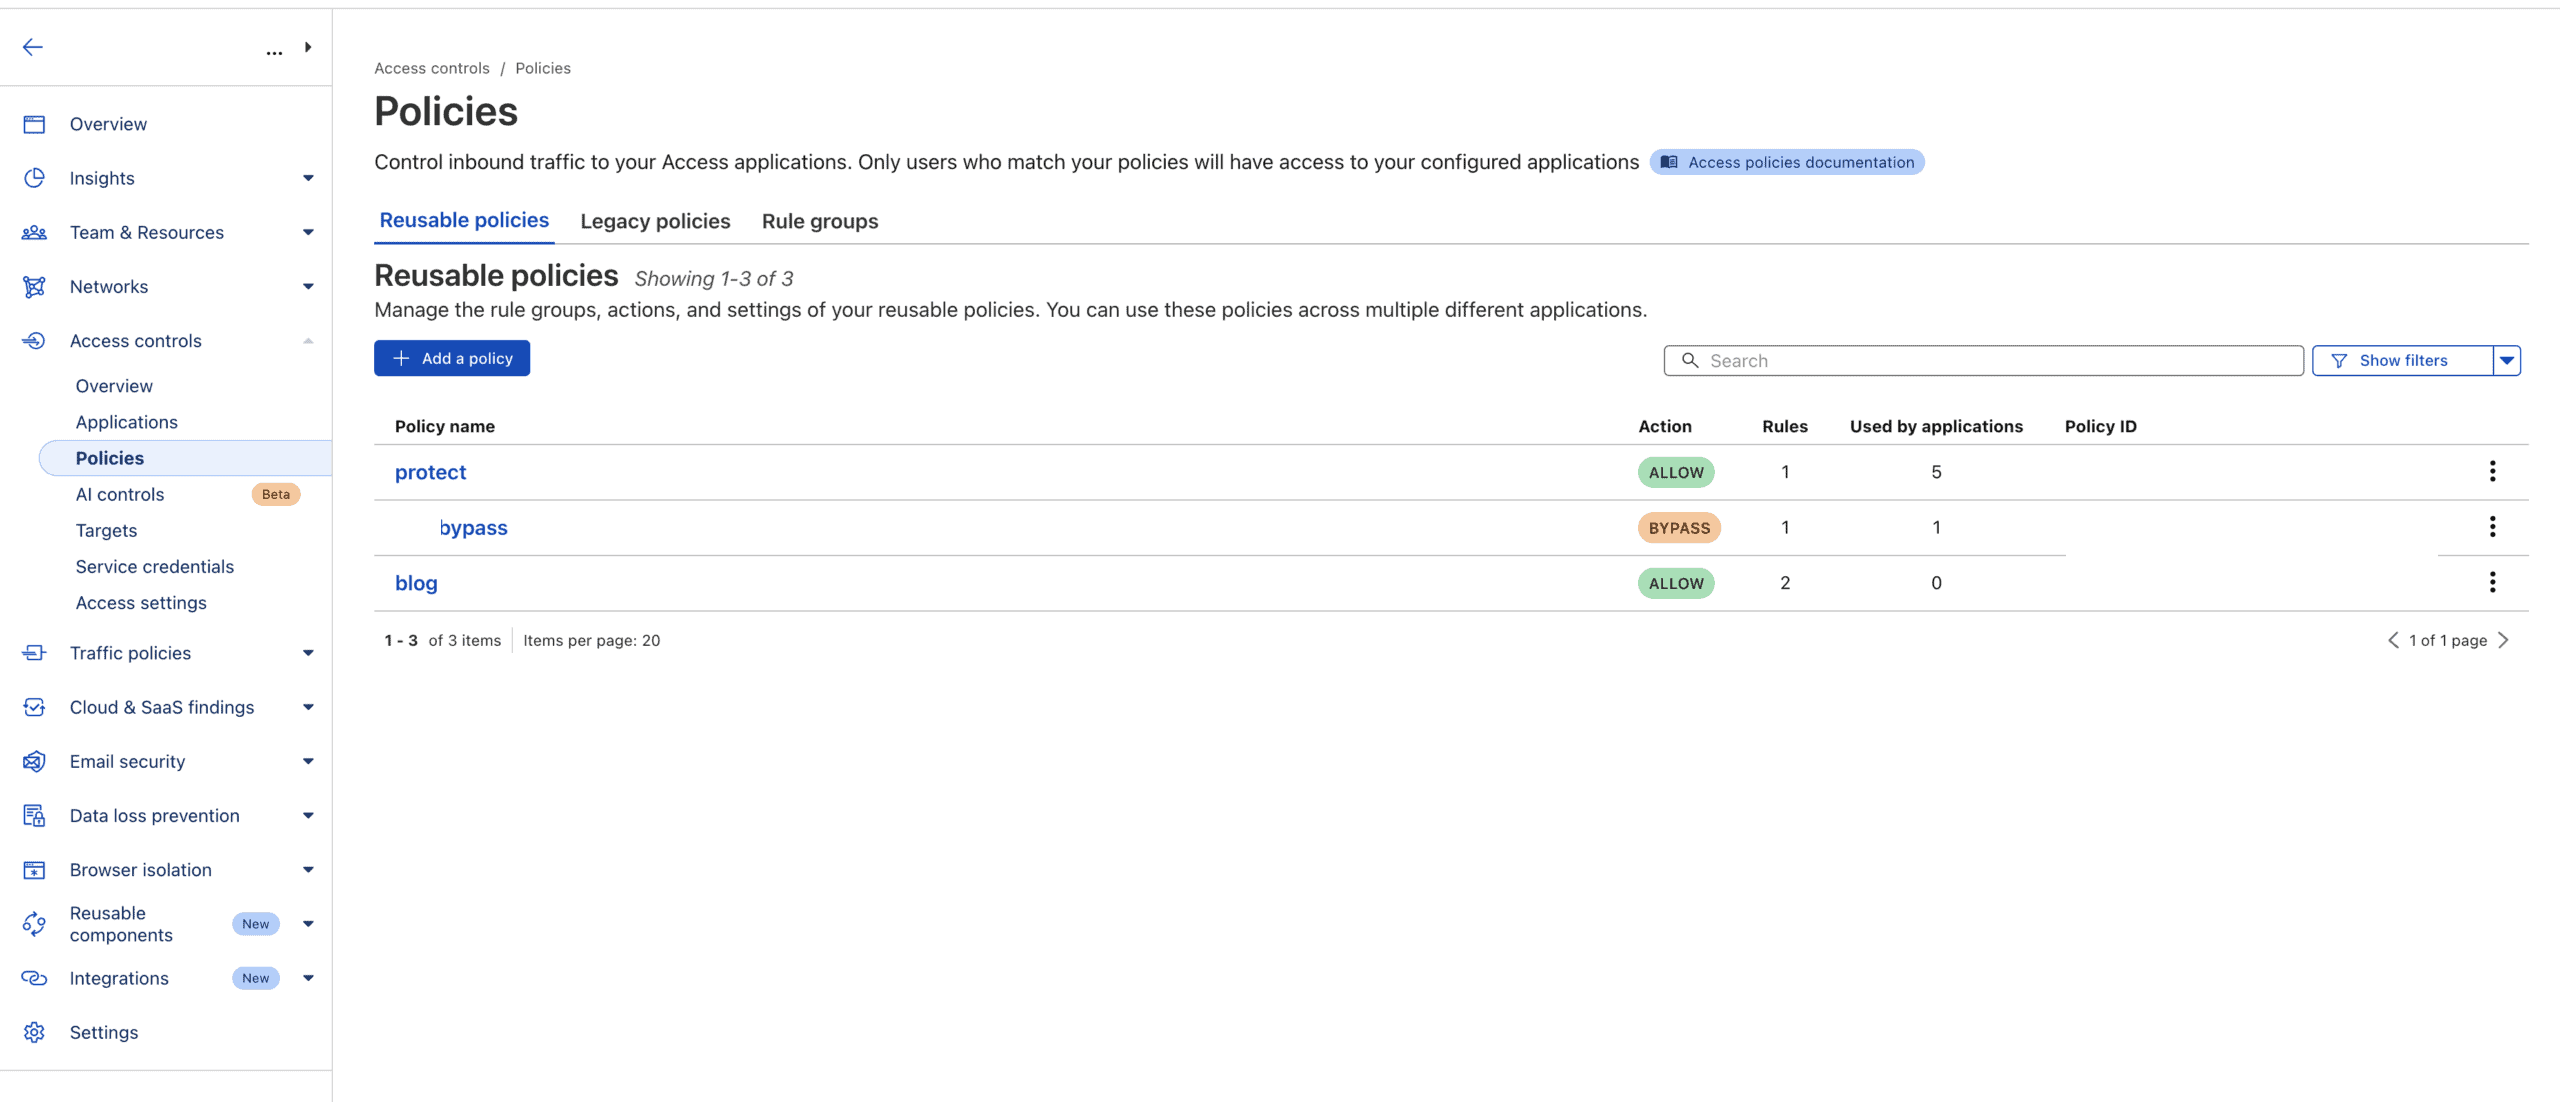
Three policy types handle different scenarios:
- ALLOW with Authentication: User must login via identity provider (used for dashboards, admin panels)
- BYPASS: Skip authentication for specific paths (useful for webhooks, API endpoints that need programmatic access)
- ALLOW without Authentication: Public access (for blogs, public APIs)
Practical Example: n8n Workflow Automation
n8n presents an interesting case. The dashboard needs authentication, but webhook endpoints must be publicly accessible for external triggers. The solution uses two rules:
# Application: n8n.raffaello.uk
# Policy 1: Bypass for webhooks
Path: /webhook/*
Action: BYPASS

# Policy 2: Protect everything else
Path: /*
Action: ALLOW (requires GitHub login)
This configuration allows n8n to receive webhook triggers from external services while keeping the administration interface protected.
Security Benefits
This architecture provides defense-in-depth:
- No exposed ports: Router firewall remains completely closed
- Identity verification: OAuth providers handle authentication securely
- Audit logging: Cloudflare logs all access attempts
- Automatic SSL: No certificate management or renewal concerns
- Bot protection: Cloudflare’s WAF filters malicious traffic
Conclusion: Cloudflare Tunnels Raspberry Pi
Cloudflare Tunnels combined with Zero Trust Access transforms a Raspberry Pi into a secure, professionally-hosted infrastructure. Without static IPs, port forwarding, or complex VPN setups, you can expose Docker services to the internet with enterprise-grade security. The granular policy system ensures that public content remains accessible while administrative interfaces stay protected behind strong authentication. Once configured, you can expose services like n8n workflow automation securely.
Related Reading
This article was written with Claude Code CLI by Anthropic.